Fallback install · ChatGPT developer mode
Install Amass MCP via ChatGPT developer mode.
Available on ChatGPT Plus, Business, Enterprise, and Edu. This fallback path uses Settings → Apps → Developer mode on the ChatGPT web app — only needed when the Amass MCP app-store listing isn't visible to your tenant.
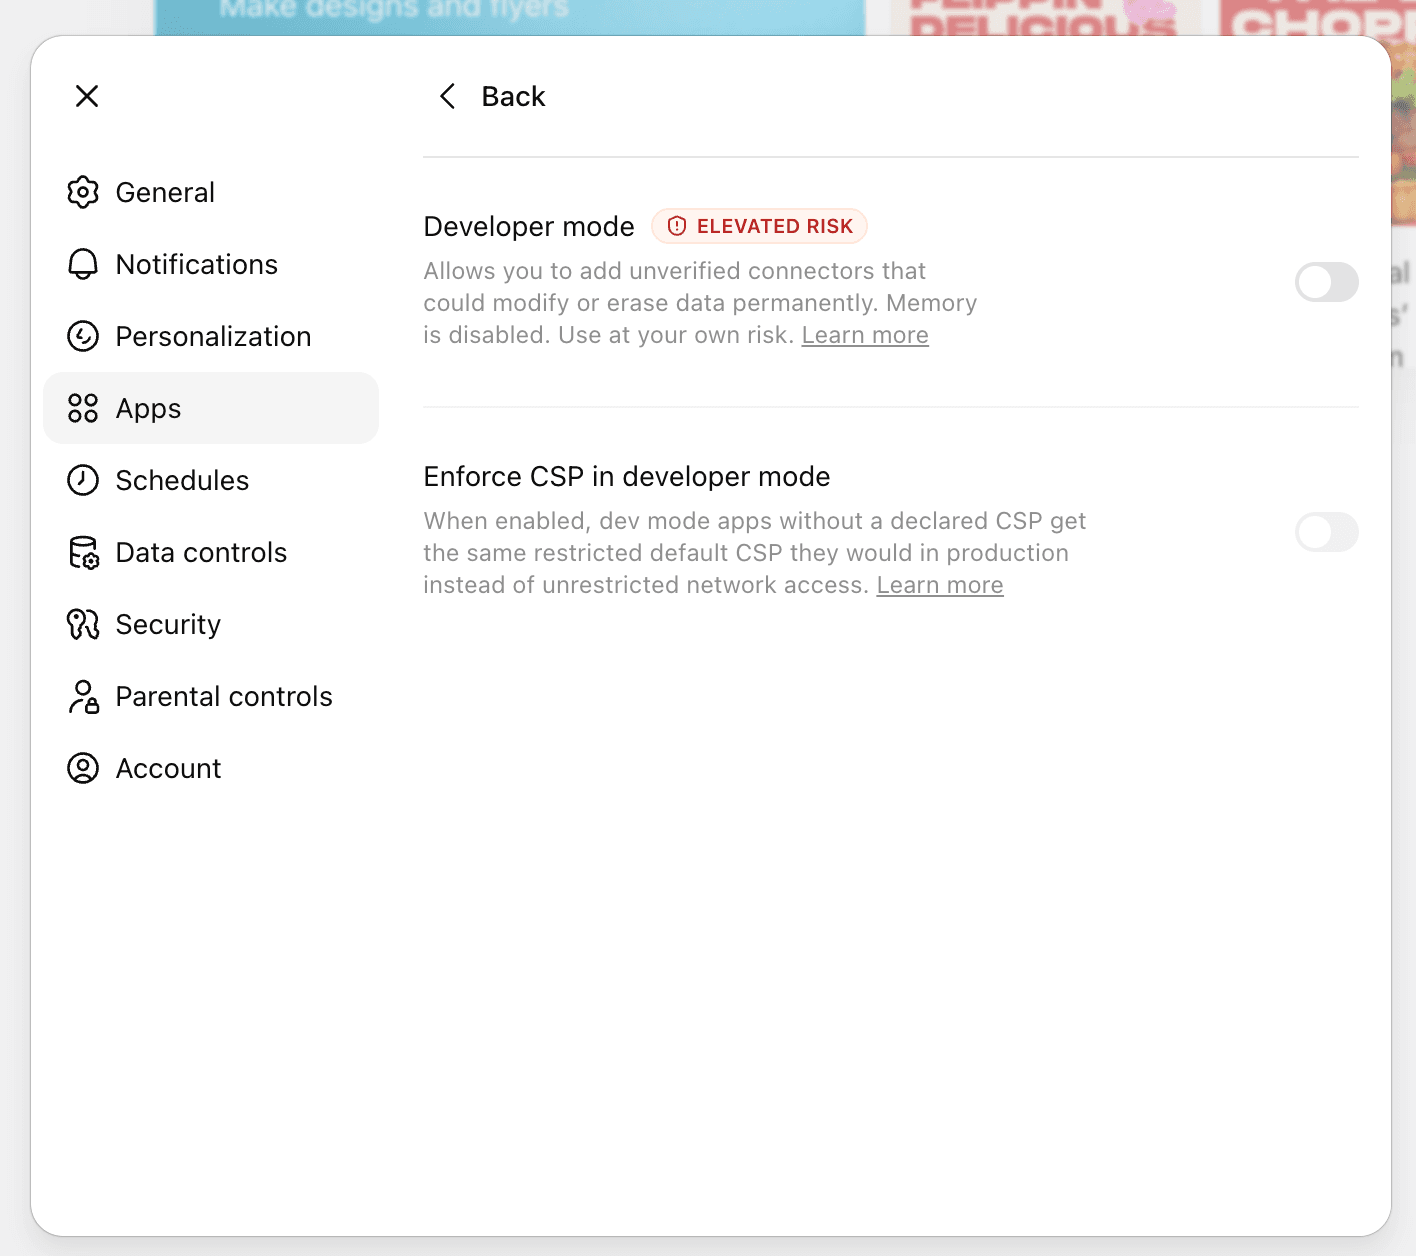
Open Settings → Apps and turn on Developer mode.
From the ChatGPT sidebar, click your avatar → Settings → Apps. Developer mode is off by default — flip it on. ChatGPT will warn that it's an elevated-risk feature; that's expected.
NoteMemory is automatically disabled in chats that use developer-mode connectors. Leave Enforce CSP in developer mode off unless your IT team requires it.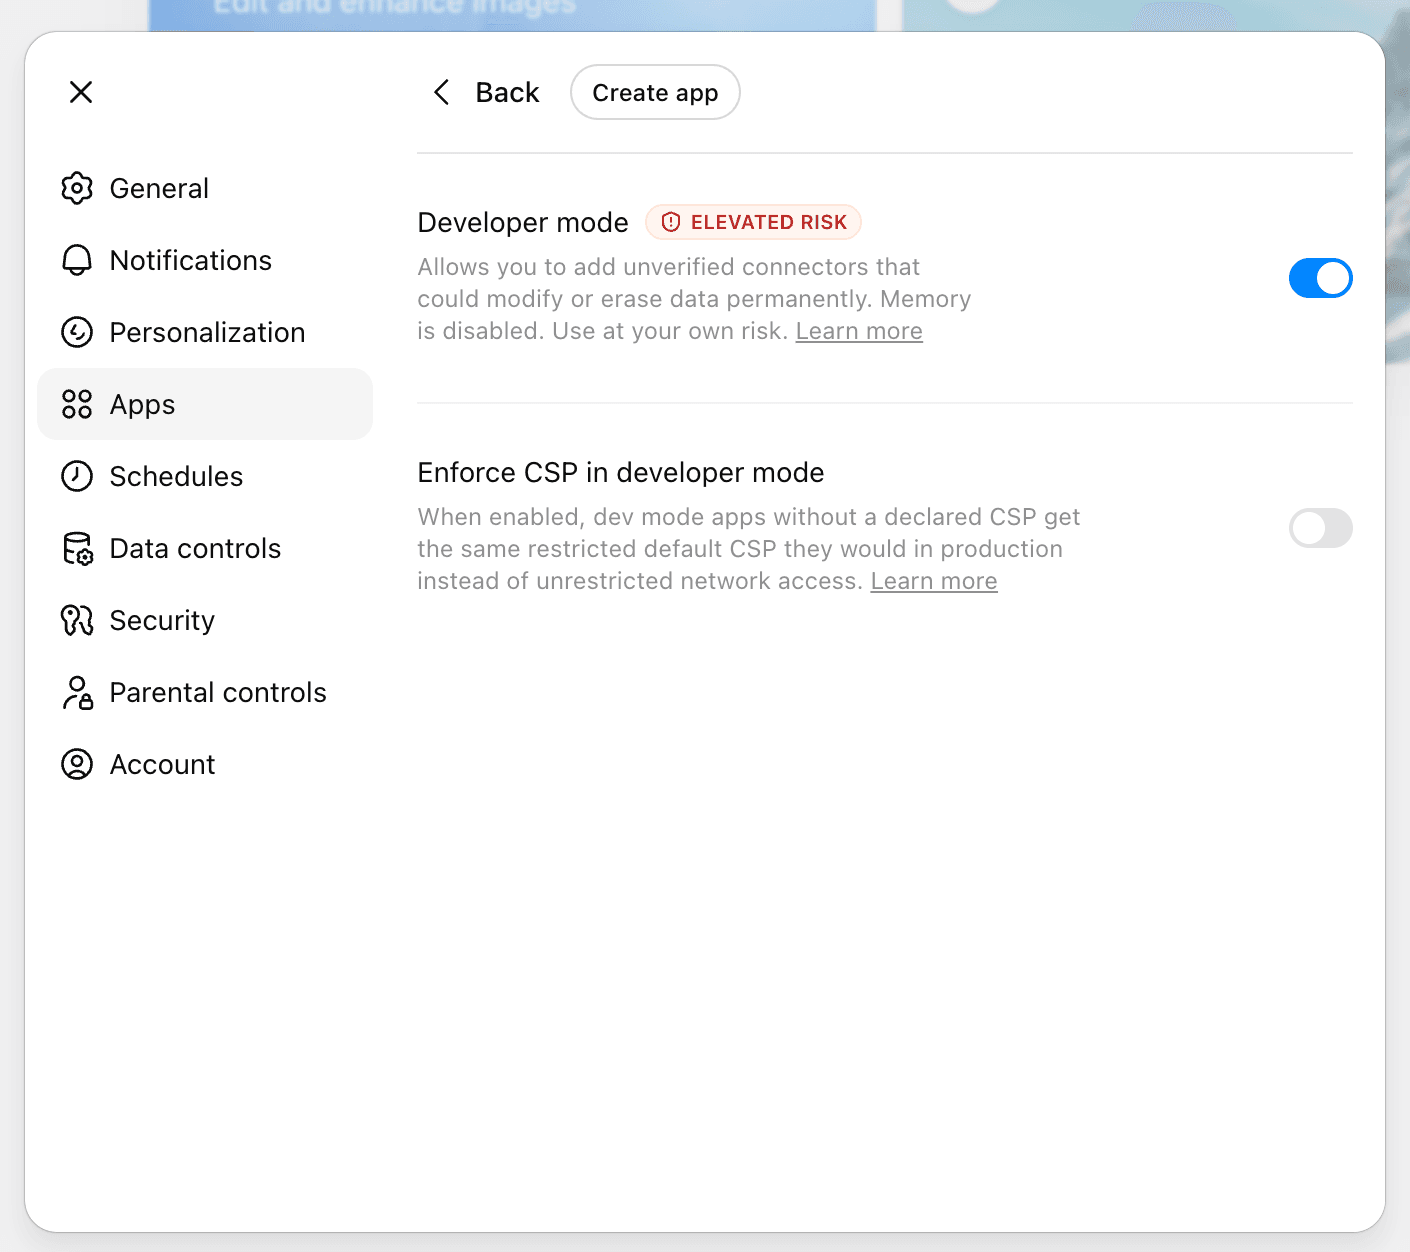
Settings → AppsToggle Developer mode — Create app appears Click Create app and fill in the connector details.
A New App dialog opens. Use these values exactly. Description and icon are optional.
- Name
- Amass MCP
- MCP Server URL
https://mcp.amass.tech/mcp- Authentication
- OAuth
- Risk checkbox
- Tick “I understand and want to continue”
https://mcp.amass.tech/mcp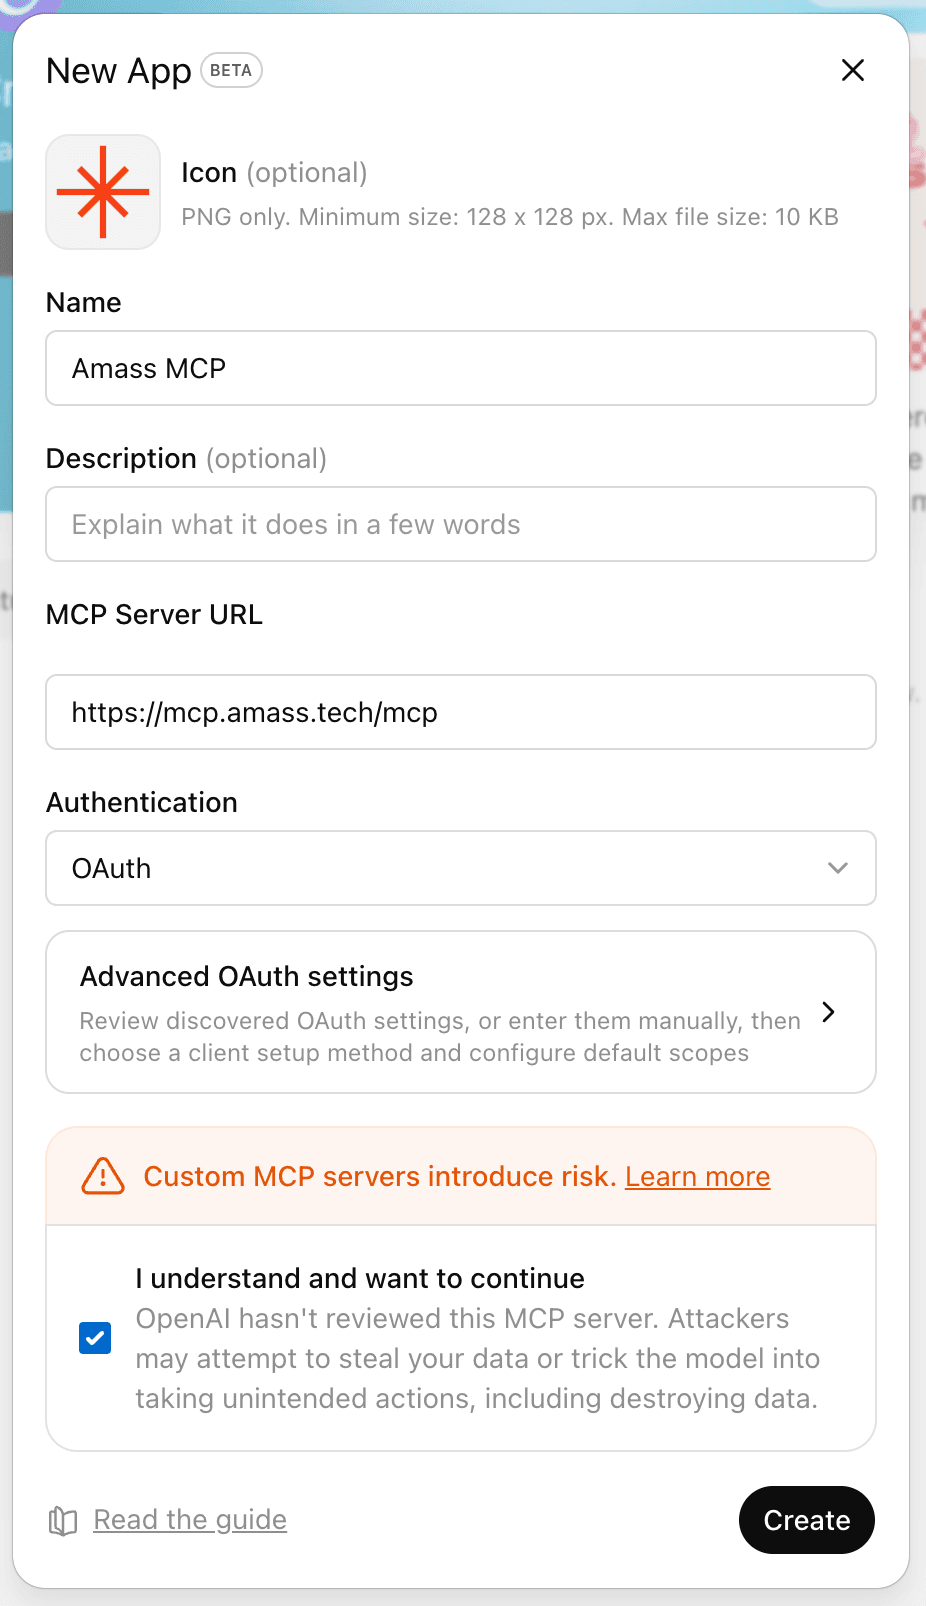
New App · BetaPress Create to continue Sign in to Amass and allow access.
ChatGPT redirects to
auth.amass.tech. Sign in with your existing Amass account, then press Allow access. Your Amass plan's entitlements apply through the connector — no API keys to manage.NoteYou'll see the Amass mark, ChatGPT's avatar, and the email you're signed in as. Confirm it's the right account before allowing access.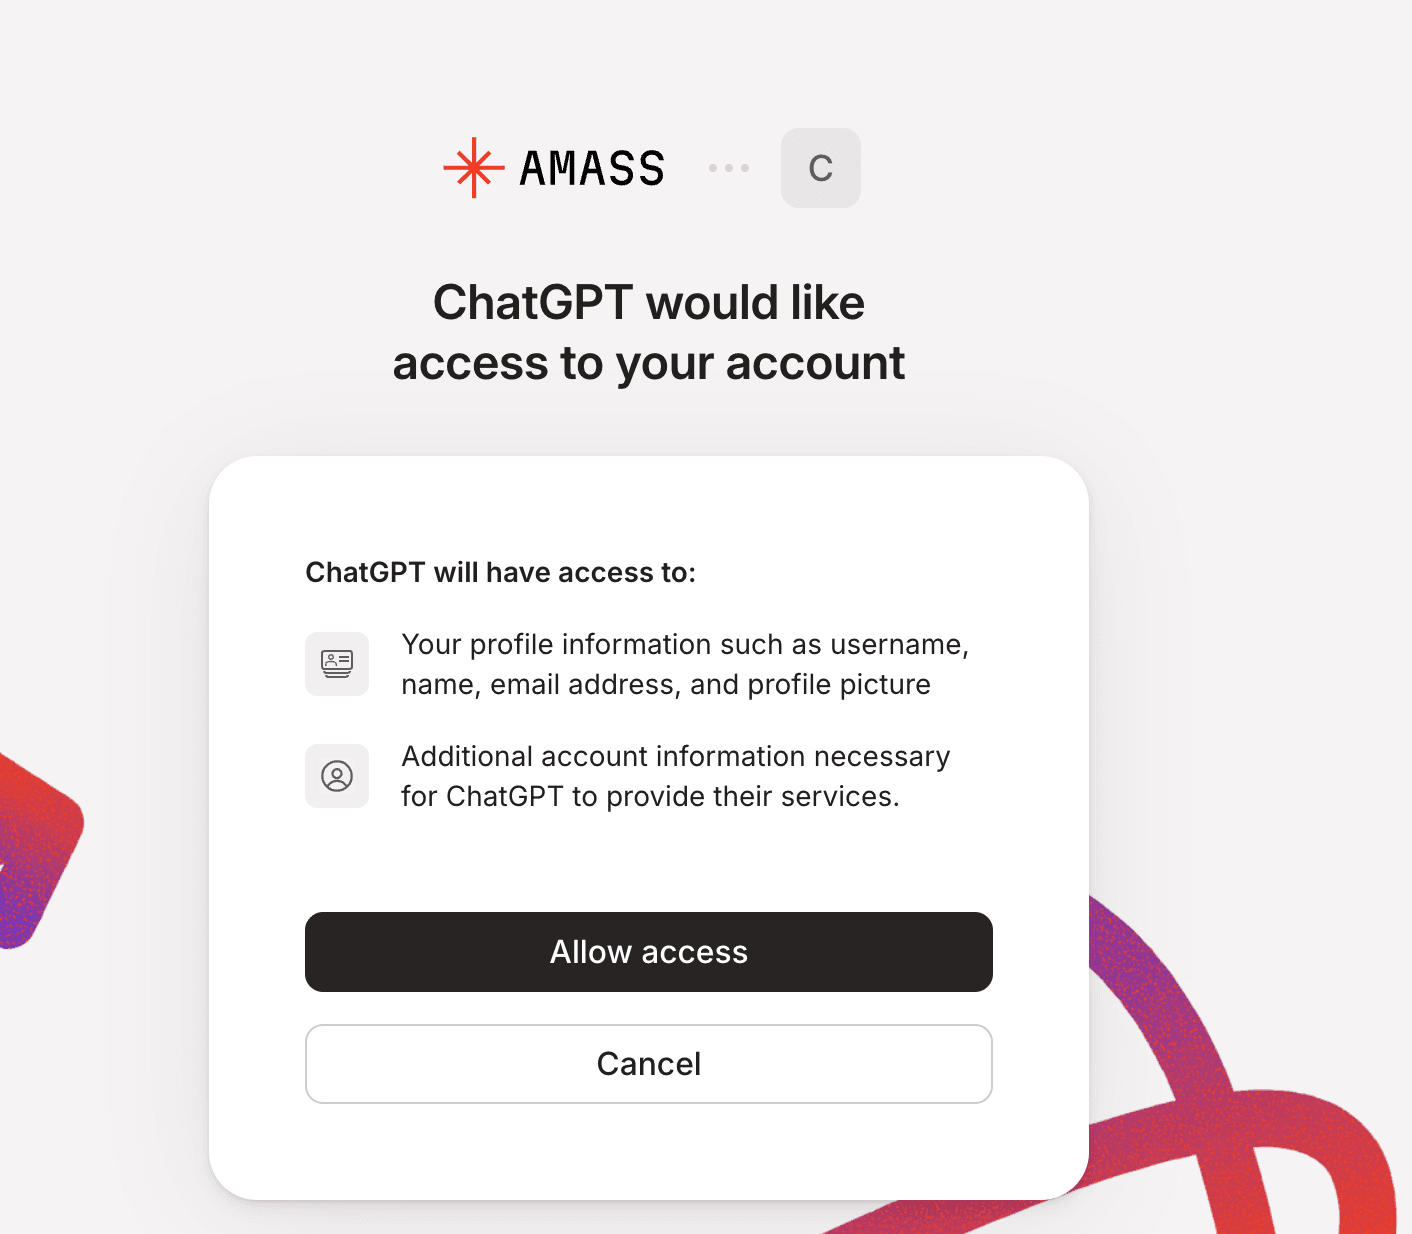
auth.amass.techPress Allow access Confirm Amass MCP is connected.
You're returned to ChatGPT and a green “Amass MCP is now connected” toast appears. Amass MCP also shows up under Apps → Drafts(private apps you've created in developer mode).

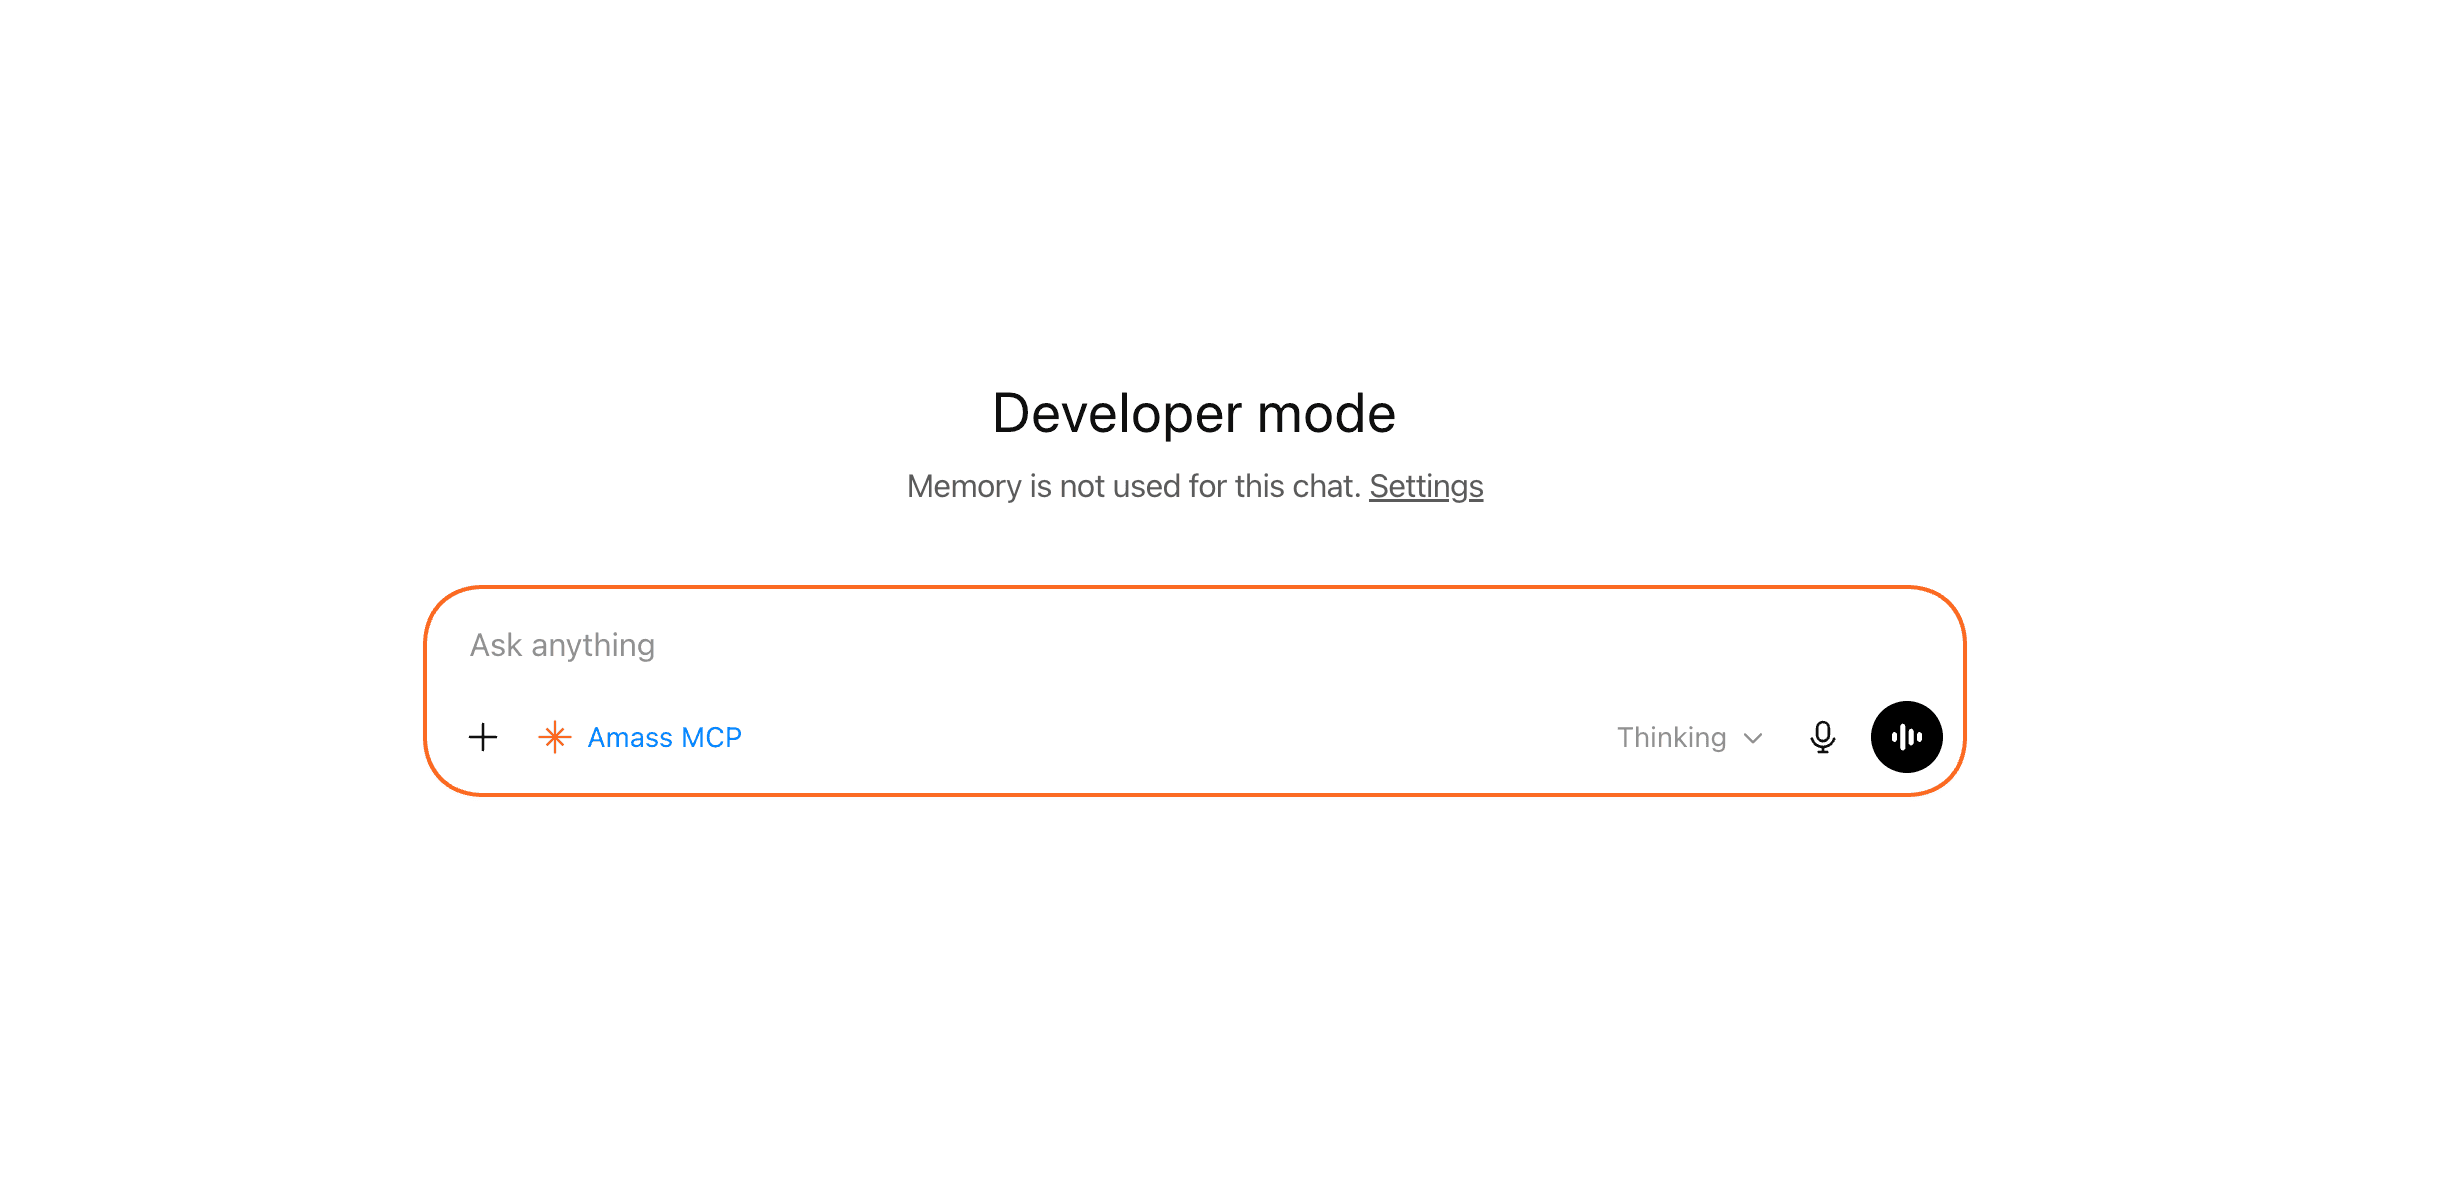
ConfirmationToast appears in the top of the app Start a new chat and attach Amass MCP.
In the composer, click the + button and select Amass MCPfrom the menu. The composer gets a red Amass MCP chip and an orange ring — Amass is now in the conversation's tool stack.
- Open a new chat (or reuse an existing one).
- Click the
+in the composer. - Pick Amass MCP from the dropdown.
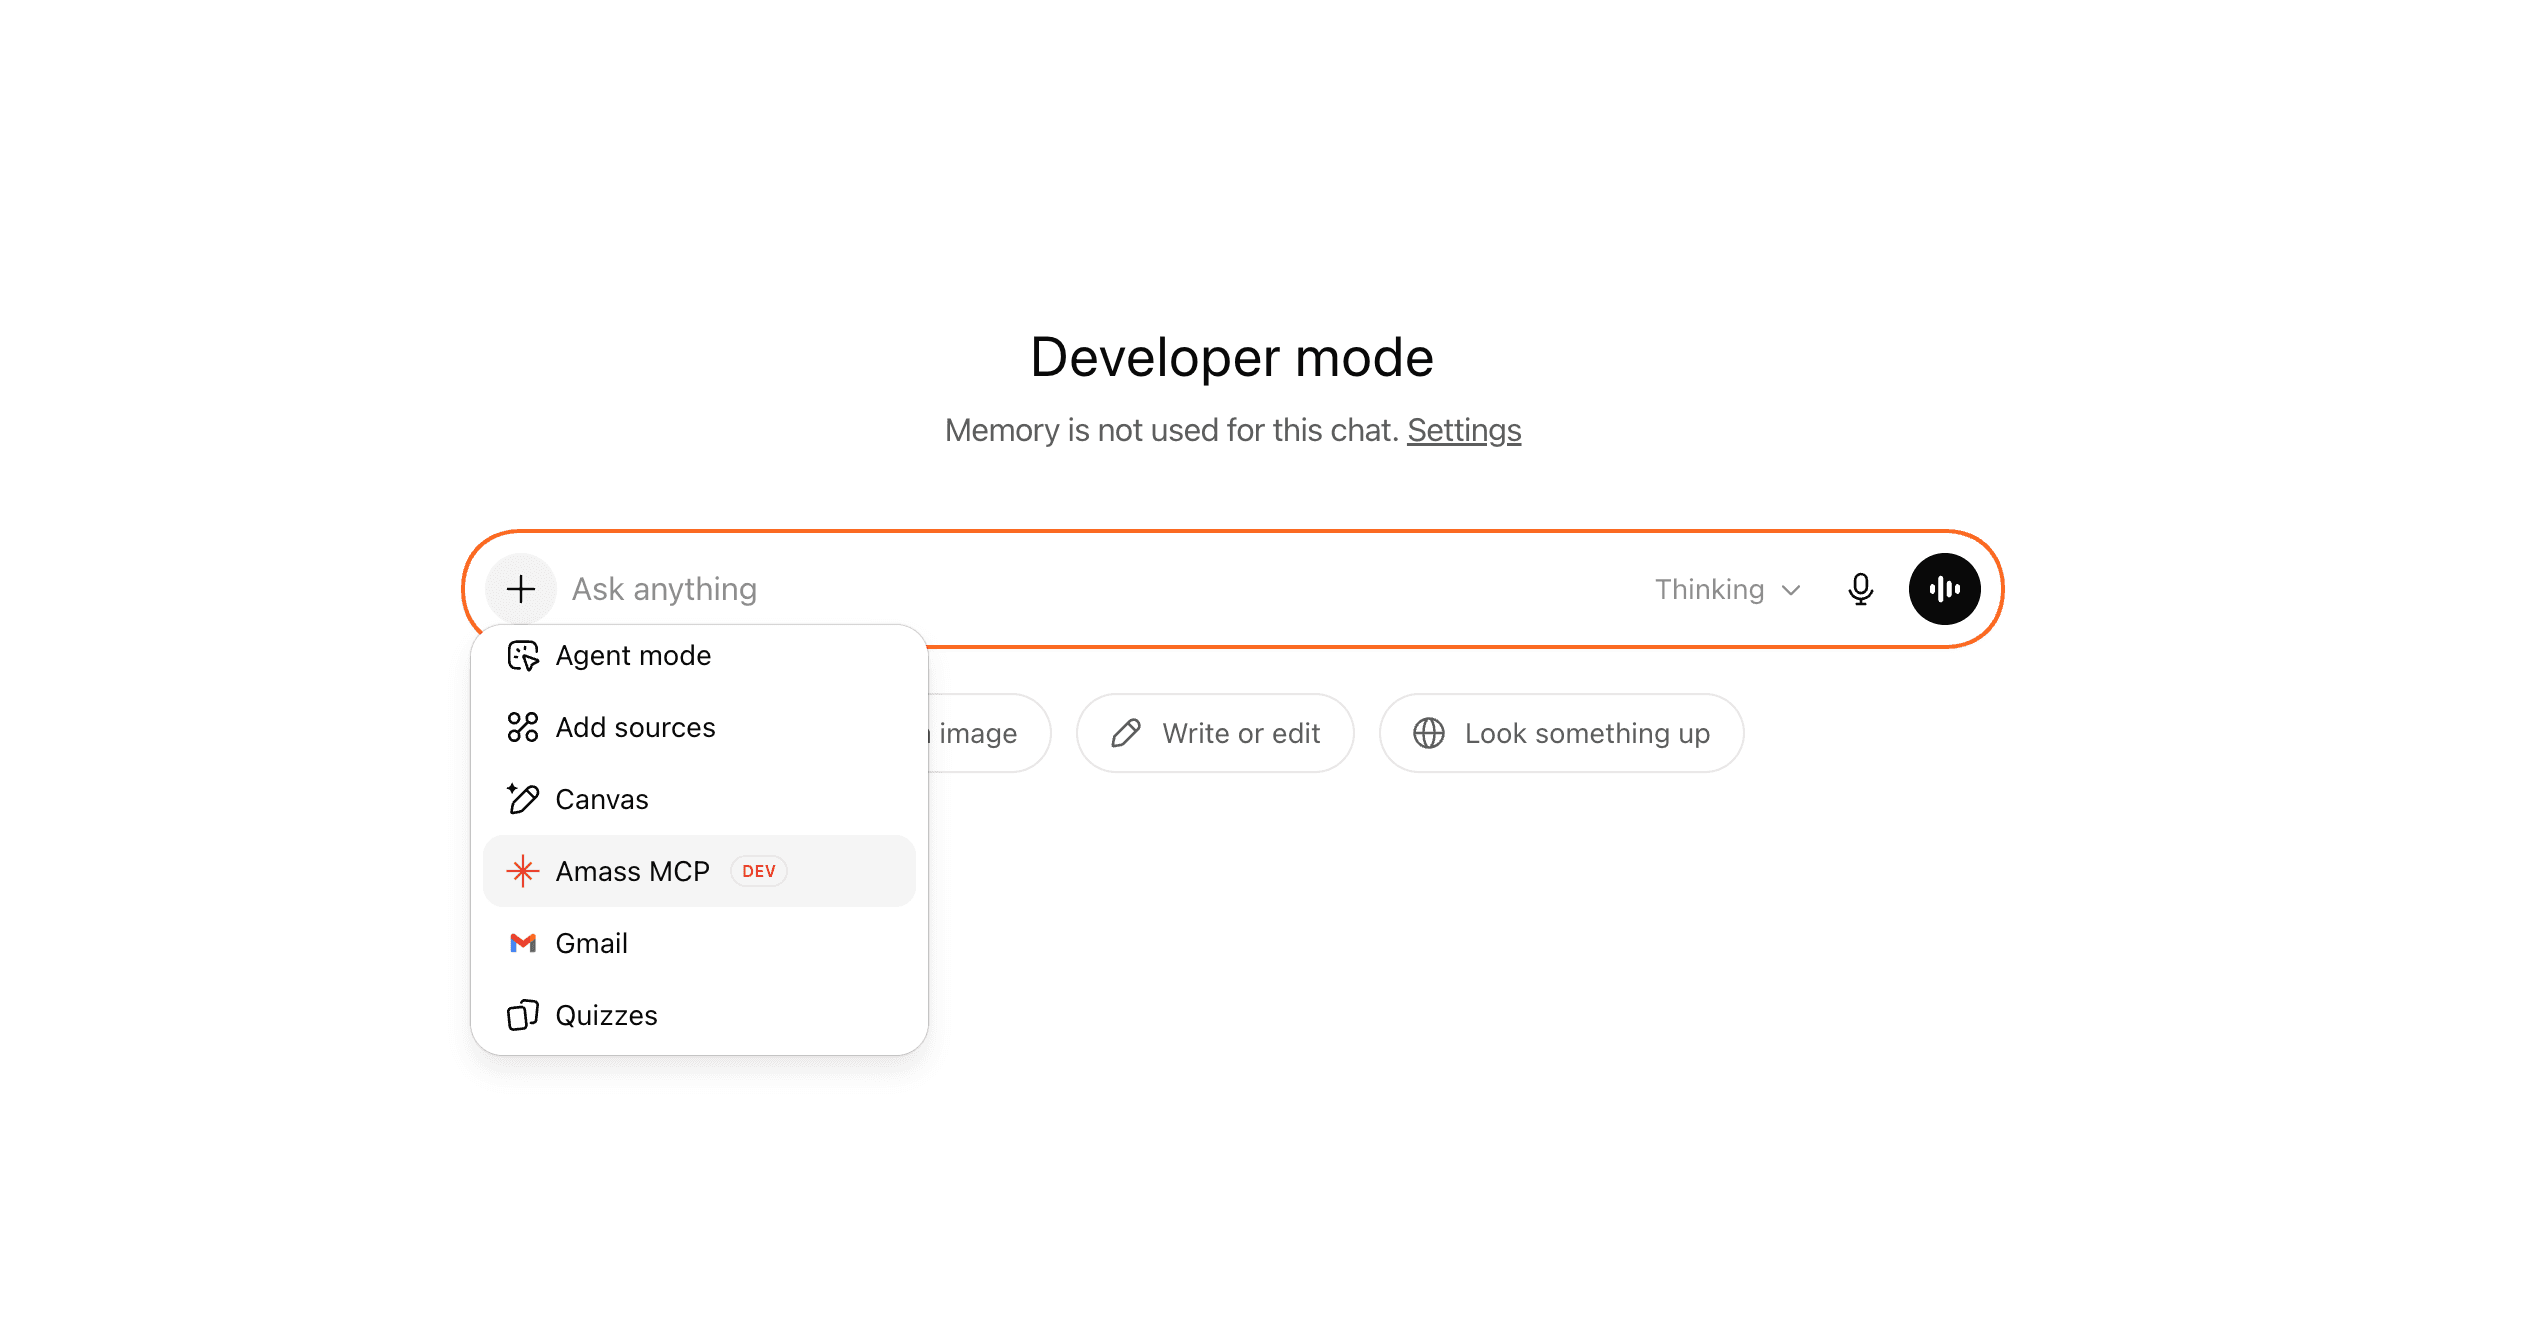
ComposerClick + → select Amass MCP
You'll be redirected to sign in with your Amass account. That's it — your existing plan's access applies through the MCP.